Installing your own dashcam, here's how to do it
, by Allcam dashcams, 5 min reading time
, by Allcam dashcams, 5 min reading time
Explanation about how to place and install a dashcam.
Fitting a dashcam may sound like a complicated job, but usually it is not that difficult and you can do it yourself quite easily in about 1 to 1.5 hours by yourself. For a standard installation using the (usually supplied) cigarette power supply, you don't really even need any tools. Fitting a dashcam with a continuous power supply is a bit more complicated, but in most cases it is also easy to do yourself. Below, we explain the different steps for installing a dashcam.

Before installing the dashcam, it is important to decide where to mount it. Most people place the dashcam on the right behind the interior mirror. It is hardly noticeable there while driving and the dashcam has the best view of the road from there. You can also install it elsewhere, but make sure it can film the road properly and that it is mounted securely. With some dashcams, it is not possible to rotate the dashcam horizontally so you may have to place it towards the centre of the windscreen.

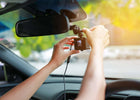
Once you have determined the position for fitting your dashcam, you can attach it to the windscreen. For dashcams with a self-adhesive holder, you can remove the foil from the sticker. Dashcams with a suction cup holder can be placed directly on the windscreen and often ‘sucked in’ with a lever or turning mechanism. It is wise to first place the dashcam on the windscreen with holder and all. You can often remove the dashcam from the holder, but if you only attach the holder to the windscreen, there is a risk that the dashcam will not fit properly or will not be properly positioned towards the road.

If you are only going to use the dashcam while driving, you can install it using the cigarette power supply (usually supplied as standard). This is the simplest way of installation. To install the dashcam, first plug it in and guide the long cable along the windscreen. If you have installed the dashcam to the right of the interior mirror, it is best to do this through the right-hand side of the windscreen. You can often route the cable through the door down under the passenger seat or under the glove box to the car's cigarette entrance. To hide the cable neatly, you can put it behind the upholstery of the car. You can often push it up a little with a plastic clip. You can also choose to work with cable clips that you stick on the window and into which you can stick the cable. For both methods, we have a handy set with 5 cable clips and a trimmer.

If you want to use your dashcam in parking mode, in most cases you will need to install it with a continuous power supply. Such a power supply is best connected to your car's fuse box. Fitting your dashcam with a hardwire kit requires a bit more knowledge and tools and we recommend only doing this in the presence of someone with technical knowledge. You can also do it yourself without technical knowledge, but take your time and make sure you have the right materials. We may sell an installation kit containing all the necessary tools (except a screwdriver). The car's fuse box is usually on the driver's side near your left foot. Therefore, you usually guide the cable of the Continuous power supply through the left side of the windscreen. For installing a Continuous power supply, we have written this more extensive article where we explain it step by step.

Besides installing a dashcam with cigarette or continuous power supply, you can also choose to use a battery pack or powerbank. In principle, you can use any standard battery pack or powerbank with a USB port. In that case, make sure the USB port provides sufficient power. Most dashcams require at least 1.5A, while a standard USB port usually provides a maximum of 0.5A.
In most cases, however, the parking mode of your dashcam will not work when installed with a standard battery pack or powerbank. This is because almost all dashcams require a connection with the Continuous power supply. This sends the signal to the dashcam the moment you switch the car on and off. If you do want to use a battery pack, the only option is to use the Cellink Neo 8+. This has the option of connecting a continuous power supply to it, just like you would at the car's fuse box. In turn, you connect the Cellink Neo 6 via the cigarette power supply or another switched power point so that it charges while driving.

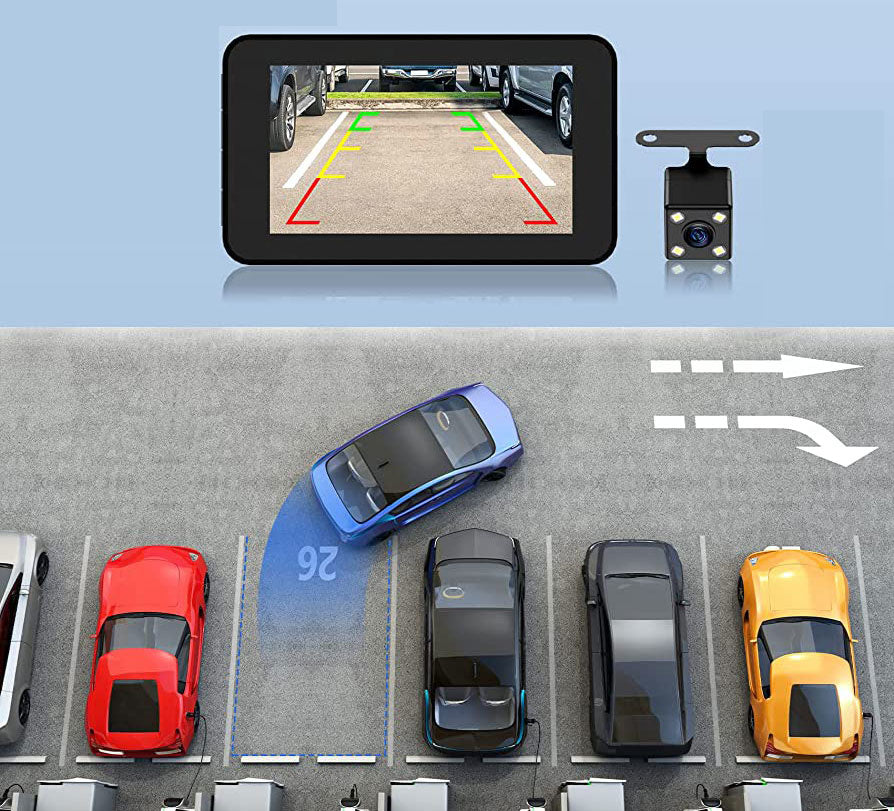
With a 2CH Dual dashcam, you will also need to install the rear camera. The rear camera is always connected to the front dashcam with a long cable supplied. Fitting a 2CH Dual dashcam therefore requires a little more work. Fitting the rear camera can be done in various ways. Some rear cameras are waterproof and you can place them outside the car. However, the most durable way is to mount the rear camera inside on the rear window. Here the lens gets less dirty and is less susceptible to rain and temperature changes. You can hide the long cable under the headliner in some cars. If that is not possible you will have to guide the cable through the doors to the front. Check out this article where we explain it in a bit more detail.
If you prefer not to install your dashcam yourself, you can of course have it done. To install your dashcam, you can usually go to your own garage or dealer. Their installation usually costs between €150 and €200.